Introduction
In addition to the forum, the LXD team uses IRC as communication tool for support questions and development discussions.
IRC (Internet Relay Chat) is a real-time, text-based messaging system that uses conversation channels for discussions. The Linux containers team runs two channels (#lxc and #lxc-dev) on the Libera.Chat network. See LXC now using Libera as its IRC network (live chats) for more information.
To quickly get started, you can use the online client to access the #lxc channel. However, this solution has some drawbacks, mainly that you cannot see the history after you log out or close your browser window.
Therefore, if you plan to use IRC more frequently, you should set up an IRC client that you can keep running over time. You can then connect to it through a web client or SSH and see current and past discussions.
The following tutorial will guide you through the steps of setting up the WeeChat IRC client, join the relevant channels and use the Glowing Bear web client or the WeeChat-Android app to access the conversations.
Prerequisites
In this tutorial, we’ll install the IRC client in a LXD container on your local machine. This means that your machine must have LXD installed. See Getting started - command line for installation instructions.
Alternatively, you can install the IRC client directly on your local machine, or ideally on a machine that is always running (for example, a cloud instance or a Raspberry Pi). In this case, you can still follow the instructions in this tutorial, but you must replace the commands related to LXD.
Set up a container and install WeeChat
Complete the following steps to install the WeeChat IRC client in a new LXD container:
-
Create and launch a container named
irc:lxc launch images:ubuntu/20.04 irc -
Log on to the container:
lxc exec irc bash -
Install WeeChat:
apt update apt install weechat -
Create a user for running WeeChat:
adduser --system --home /var/lib/weechat --group --shell /bin/bash weechat
Create certificates
To avoid password-based authentication and increase security, use a TLS certificate. See Using CertFP for more information.
Complete the following steps to create your certificate:
-
In the
irccontainer, switch to the weechat user:sudo -Hiu weechat -
Enter the following command:
openssl req -x509 -new -newkey rsa:4096 -sha256 -days 1096 -nodes -out libera.pem -keyout libera.pemEnter the requested information or press Enter to skip. You must provide information for at least one of the prompts.
-
Create directories to hold the certificate:
mkdir -p .weechat/certs -
Move the certificate to the correct location:
mv libera.pem .weechat/certs/
Configure WeeChat
Complete the following steps to configure basic settings in the IRC client:
-
In the
irccontainer, still logged in as the weechat user, start WeeChat:weechat -
In the WeeChat command line at the bottom of the window, enter the following commands to add the Libera.Chat server:
/server add liberachat irc.libera.chat/6697 -ssl /set irc.server.liberachat.addresses irc.libera.chat/6697 -
Enter the following commands to enable and configure SSL:
/set irc.server.liberachat.ssl on /set irc.server.liberachat.ssl_verify on /set irc.server.liberachat.ssl_cert %h/certs/libera.pem /set irc.server.liberachat.sasl_mechanism external -
Connect to the server:
/connect liberachatWeeChat will attempt to connect to the server with the default nick (
weechatin this case), which causes an error message that this nick is already registered and you must choose a different one.Note: If Libera.Chat returns a “
SASL access only” error, the IP address of your client might be in a range that requires connecting with a nick name registered with a verified email address. See SASL access only IP ranges for more information.In this case, you must use an alternative connection to register your nick name. For example, if you encounter the problem on a cloud instance, repeat the steps in this guide on your local machine to register your credentials, and then use the same credentials to connect from the cloud instance.
-
Choose a nick name, replacing YourNickName with the nick you want to use:
/nick YourNickNameIf you get an error that the nick is already registered, choose a different one.
-
Register your new nick name, replacing YourPassword with the password you want to use (it will be replaced by asterisks in the input) and youremail@example.com with your email address:
/msg NickServ REGISTER YourPassword youremail@example.com -
Check your email and enter the command from the confirmation email to complete the registration of your nick name.
-
Register your certificate to avoid having to identify with your password every time you log on:
/msg NickServ CERT ADD -
Configure WeeChat to automatically connect to the Libera.Chat server with your nick (replace YourNickName) and join the LXC channel:
/set irc.server.liberachat.autoconnect on /set irc.server.liberachat.nicks YourNickName /set irc.server.liberachat.autojoin "#lxc" -
Save your settings and quit WeeChat:
/save
/quit
Basic usage
Start WeeChat by logging on to the irc container (lxc exec irc bash), switching to the weechat user (sudo -Hiu weechat) and running weechat. To quit, enter the /quit command.
By default, anything you type into the command line at the bottom of the WeeChat window is sent to the selected channel, with the exception of IRC or WeeChat commands. These commands start with a “/” character. See the WeeChat documentation for an overview of the most important commands and the list of supported IRC commands.
WeeChat displays its content in different buffers. To switch between buffers, press Alt and the left or right arrow key. To scroll up or down within a buffer, press Alt and PgUp or PgDn.
Add filters
To control which messages you see in the chat, you can add filters.
For example, to add a predefined filter that hides messages about users joining or leaving the channel, enter the following command:
/filter add irc_smart * irc_smart_filter *
See /filter for more filtering options, including custom filters.
Connect through a remote interface
If you prefer to access WeeChat through a GUI instead of the command line, you can use the Glowing Bear web client or the WeeChat-Android app.
Complete the following steps to set up the remote interface:
-
In the WeeChat command line at the bottom of the window, enter the following command to configure WeeChat to relay its content to a remote interface:
/relay add weechat 9000 -
Configure a password to access the WeeChat content through the GUI. To do so, enter the following command, replacing RelayPassword with a password of your choice:
/set relay.network.password RelayPassword -
Keep WeeChat running in your container by leaving the command window open.
-
On your local machine, enter the following command to determine the IPv4 address of the
irccontainer:lxc list irc -
Connect to WeeChat through either the Glowing Bear website or the WeeChat-Android app.
-
Glowing Bear:
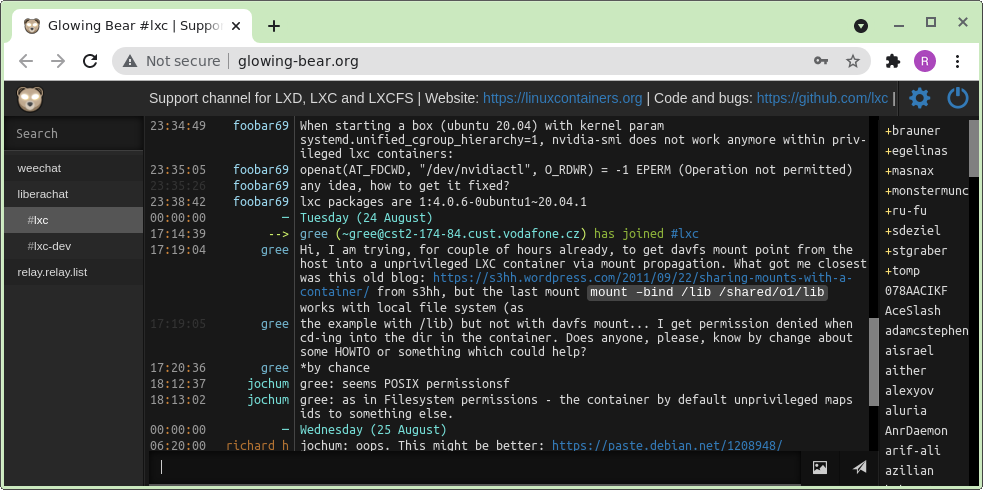
- Go to http://glowing-bear.org in your web browser.
- Enter the IPv4 address of your
irccontainer as WeeChat relay hostname, specify port 9000 and enter your relay password. - Do NOT select Use Time-based One-Time Password or Encryption.
- Click Connect.
-
WeeChat-Android:
- Install the app from Google Play.
- From the three dots menu, select Settings > Connection.
- Enter the IPv4 address of your
irccontainer as relay host, specify relay port 9000 and enter your relay password. - Go back to the start page and click the icon to connect.
-
Keep WeeChat running in your container
Once you stop WeeChat or close the terminal session in the irc container, you lose the IRC connection. Therefore, complete the following steps to configure your container to automatically run WeeChat in the background after startup:
-
In the
irccontainer, switch back to the root user by enteringCtrl+dor typinglogout. -
Enter the following command to install a headless version of WeeChat:
apt install weechat-headless -
Create a
/etc/systemd/system/weechat.servicesystemd unit file and open it for editing.
If you are not comfortable using vi, enter the following commands:apt install nano nano /etc/systemd/system/weechat.service -
Copy in the following content:
[Unit] Description=Weechat IRC Client [Service] ExecStart=/usr/bin/weechat-headless NoNewPrivileges=yes User=weechat [Install] WantedBy=default.target -
Save the file and exit the editor.
-
Enable the new service:
systemctl enable --now weechat.service -
Ensure that WeeChat has been started by checking the output of
ps aux | grep weechat:root 201 0.0 0.5 117084 41336 ? Ss 15:09 0:01 /usr/bin/weechat-headless root 412 0.0 0.0 8168 728 pts/0 S+ 15:28 0:00 grep --color=auto weechat
Next steps
With the described setup, you can access your WeeChat client from your local machine. If you want to make it available to other computers within your local network, add a proxy device to the container by entering the following command on your host machine:
lxc config device add irc weechat-relay proxy listen=tcp:[::]:9000 connect=tcp:127.0.0.1:9000
This proxy will forward connections to any of the host’s IP addresses on port tcp/9000 to 127.0.0.1:9000 inside the container. This means that if you connect to the IP address of the host machine, you will really be connected to the relay that is running in the container.
To be able to access your client from other networks as well, you must make the tcp/9000 port of your host machine available from the outside. In this case, you should also enable encryption for the relay connection. For instructions on how to do this for Glowing Bear, see the Getting started instructions.