How to run a Windows virtual machine on Incus on Linux

In this tutorial we see how to run Windows in an Incus virtual machine.

Update 4:

  1. Added instructions on how to mount a folder between the host and the Windows VM

Update 3:

  1. I added a Bonus Material #3 to account for the few cases that Windows does not want to run in a VM on your specific hardware configuration. I had this case only once, I recreated the VM and the problem went away. One workaround is CPU Pinning, and the other is -cpu host in QEMU which gives a bit more access to the CPU.

Update 2:

  1. Added that distrobuilder can prepare Windows 10 and 11 but not 7 or 8. distrobuilder can prepare Windows Server 2012 up to Windows Server 2022. As a sidenote, I tried with Windows Server 2012 and I got a message at the very start of the boot that some scsi.sys file is not signed. I did not investigate further, nor did I try a recent version of Windows Server.
  2. Added instructions to install prerequisites for distrobuilder.
  3. Show how to use the profile, if you make one.
  4. Added description on how to put the prepared ISO into a storage volume.
  5. Added instructions in the Troubleshooting on how to deal with Windows crashing at the start (-cpu host).

Thanks to @muslu and @stgraber for their feedback for the above changes.

Update #1:

  1. We download the Windows ISO from Microsoft. Apparently, it is possible to get ISO files for Windows 7, 8, 10 and 11. The Microsoft website may be a bit confusing, but you can definitely get ISOs for at least Windows 10 and Windows 11. Have not verified with earlier versions.
  2. We then use distrobuilder to prepare the ISO files so that they get installed into the Incus VM. By doing this, we avoid manual labor later. The preparation adds special support in the new ISO so that it boots and installs in a breeze in an Incus VM. If you see the comments on my blog post, apparently there are some additional packages that may need to be installed so that distrobuilder can do its magic. Need to look into that. As in, check the case for the missing packages for pristine Ubuntu, Debian and perhaps Fedora distros and add instructions there.
  3. We prepare the Incus VM with regards to how many CPU cores we can afford, RAM memory and disk space. We do these steps manually, but at the end of the tutorial we show how to put all these in a profile. Oh, I forgot to show how to use the profile once you make it. mental note.
  4. We attach the ISO file as a DVD device to VM and boot it. The installation commences. We need to press any key so that the VM boots from the attached DVD device. I should also mention that the input (mouse and keyboard) are locked into the VM and you can release them by pressing Ctrl+Alt at the same time. It shows this on the title bar of the VM window but still users may not notice it.
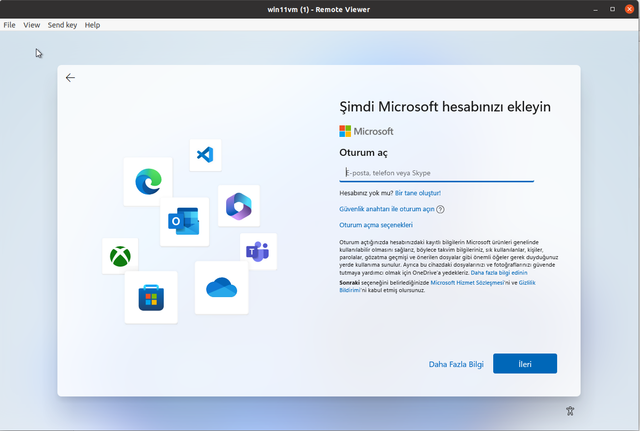
  5. The installation finishes. I do not mention much about the aspect of the Windows installation.
  6. Incus now supports USB pass-through to the VM. I do not mention that in this tutorial.
  7. The Incus profile is quite important to automate the process further. As I said earlier, I am not showing yet how to use the profile.
  8. The tutorial ends with an extensive Troubleshooting section. I did several installations in tiny different ways and recorded all issues that may arise to others that follow the steps. I also injected in the Troubleshooting section some paragraphs with advise on what choices to make for the VM. These should likely go in some different heading and not in Troubleshooting.
4 Likes

Hi All;

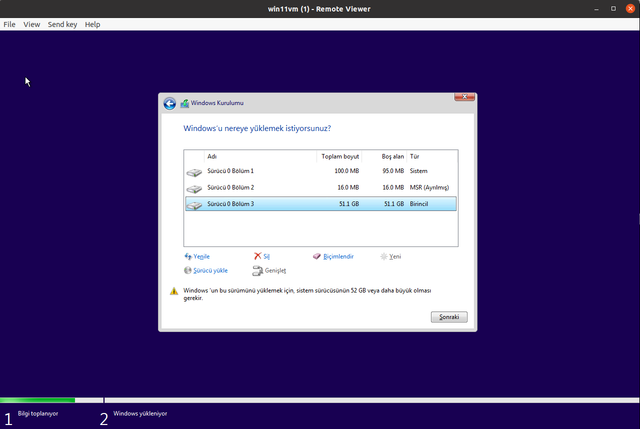
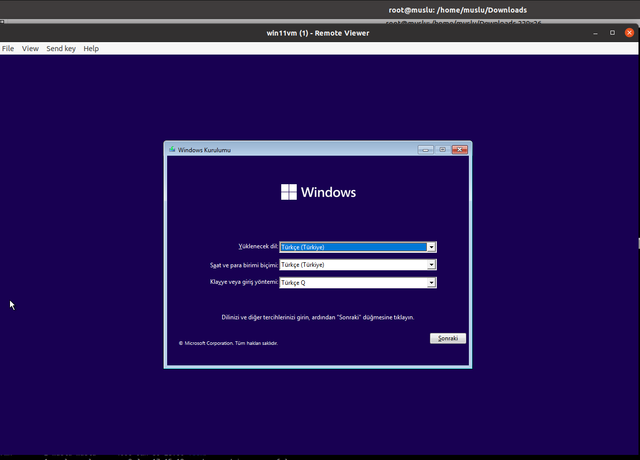
I tested Win11 with Incus on Ubuntu 20.04 and noted codes.

I used Turkish lang for Windows ISO.
Cmds for copypaster and curious.

cd /home/muslu/Downloads/

OPTIONAL

wget "https://software.download.prss.microsoft.com/dbazure/Win11_23H2_Turkish_x64v2.iso?t=ed3f182c-b90b-4407-a61a-f14aa004e821&e=1706859838&h=c428be9f77fbfed8d5b54b88632d6d04e7f687fc09ee2c53861fc12f414b5f83"

##################################################################################

INSTALL

sudo -s
apt update; apt upgrade -y

err=“Failed to check dependencies: Required tool "hivexregedit" is missing”

apt install -yqq libguestfs-tools wimtools

remmina (for slice) or virt-viewer can auto connect/open vga screen.

apt install -yqq remmina-plugin-spice virt-viewer` 

##################################################################################

distrobuilder

snap install distrobuilder --classic
distrobuilder repack-windows Win11_23H2_Turkish_x64v2.iso Win11_23H2_Turkish_x64v2.incus.iso

##################################################################################

INCUS for the curious

incus init win11vm --empty --vm
incus config device override win11vm root size=55GiB
incus config set win11vm limits.cpu=4 limits.memory=6GiB
incus config device add win11vm vtpm tpm path=/dev/tpm0
incus config device add win11vm install disk source=/home/muslu/Downloads/Win11_23H2_Turkish_x64v2.incus.iso boot.priority=10
incus start win11vm --console=vga

show console again / after first rebooted

incus console win11vm --type=vga

##################################################################################
##################################################################################

INCUS for the copypasters

incus profile copy default profilewindows
incus profile set profilewindows limits.cpu=4
incus profile set profilewindows limits.memory=6GiB
incus profile device add profilewindows vtpm tpm path=/dev/tpm0
incus profile device set profilewindows root size=55GB
incus profile set profilewindows --property description="Windows profile 4CPU, 6GB RAM, 55GB space"
incus init win11vm --empty --vm -p profilewindows
incus config device add win11vm install disk source=/home/muslu/Downloads/Win11_23H2_Turkish_x64v2.incus.iso boot.priority=10
incus start win11vm --console=vga

show console again / after first rebooted

incus console win11vm --type=vga

##################################################################################

Others cmds

incus delete win11vm -f
incus profile delete profilewindows
incus info --show-log win11vm
incus console win11vm --type=vga
incus config device remove win11vm install


1 Like

A further tip would be to add the DVD ISO into the Incus profile. Therefore, you would launch directly the VM and you would be installing straight away.

Or, even better, create a separate Incus profile that only has the DVD ISO. Then, you can (have not tested):

incus launch win11vm --vm -p profilewindows -p profileDVDISOWin11 --console=vga
1 Like

Heya,

Two quick notes. For troubleshooting, we have seen a number of systems where Windows, at least Windows 11 crashes as it starts booting. If that happens, setting raw.qemu to -cpu host tends to fix the issue, at the cost of a bit more CPU usage as that’s disabling some hyperv/Windows extensions.

The other thing is that we now support hosting ISO images in Incus directly.
So rather than using a disk device pointing to a .iso in your home directory, you can now do:

incus storage volume import default /path/to/iso/file win11 --type=iso
incus config device add my-vm install disk pool=default source=win11
5 Likes

Hi Simos, i have prepared the iso like described above. It is booting but unfortunately the vm doenst get an ip address. I tried it with my bridged network and also with macvlan. It seems, windows isnt able to find the correct driver. Any ideas? Best regards Jan

Hi! Can you verify whether a Linux container or VM is able to get an IP address?
We want to figure out first whether it’s a general issue or whether it’s an issue that is specific to Windows VMs.

Hi Simos,

yes, i have 12 different containers also OCI running.
I decided to re-do everything. I will give an update.

Best

I have done everything again, last time it stucks during installation and windows asked for network drivers. Now everything worked. so it seems that i have messed something up with the distrobuilder part… anyway…

Right now the machine ist downloading updates.
However, i don’t see it’s ip adress when i do a “incus list”

But cause the vm is still downloading updaes, i checked my router:

the vm has still received an ip via dhcp…

Thats strange :thinking: