I’m giving IncusOS a try on an HP t630 thin client, an even older machine than the t730 in the other thread! After having issues getting IncusOS to boot, I updated the system BIOS to the latest version.
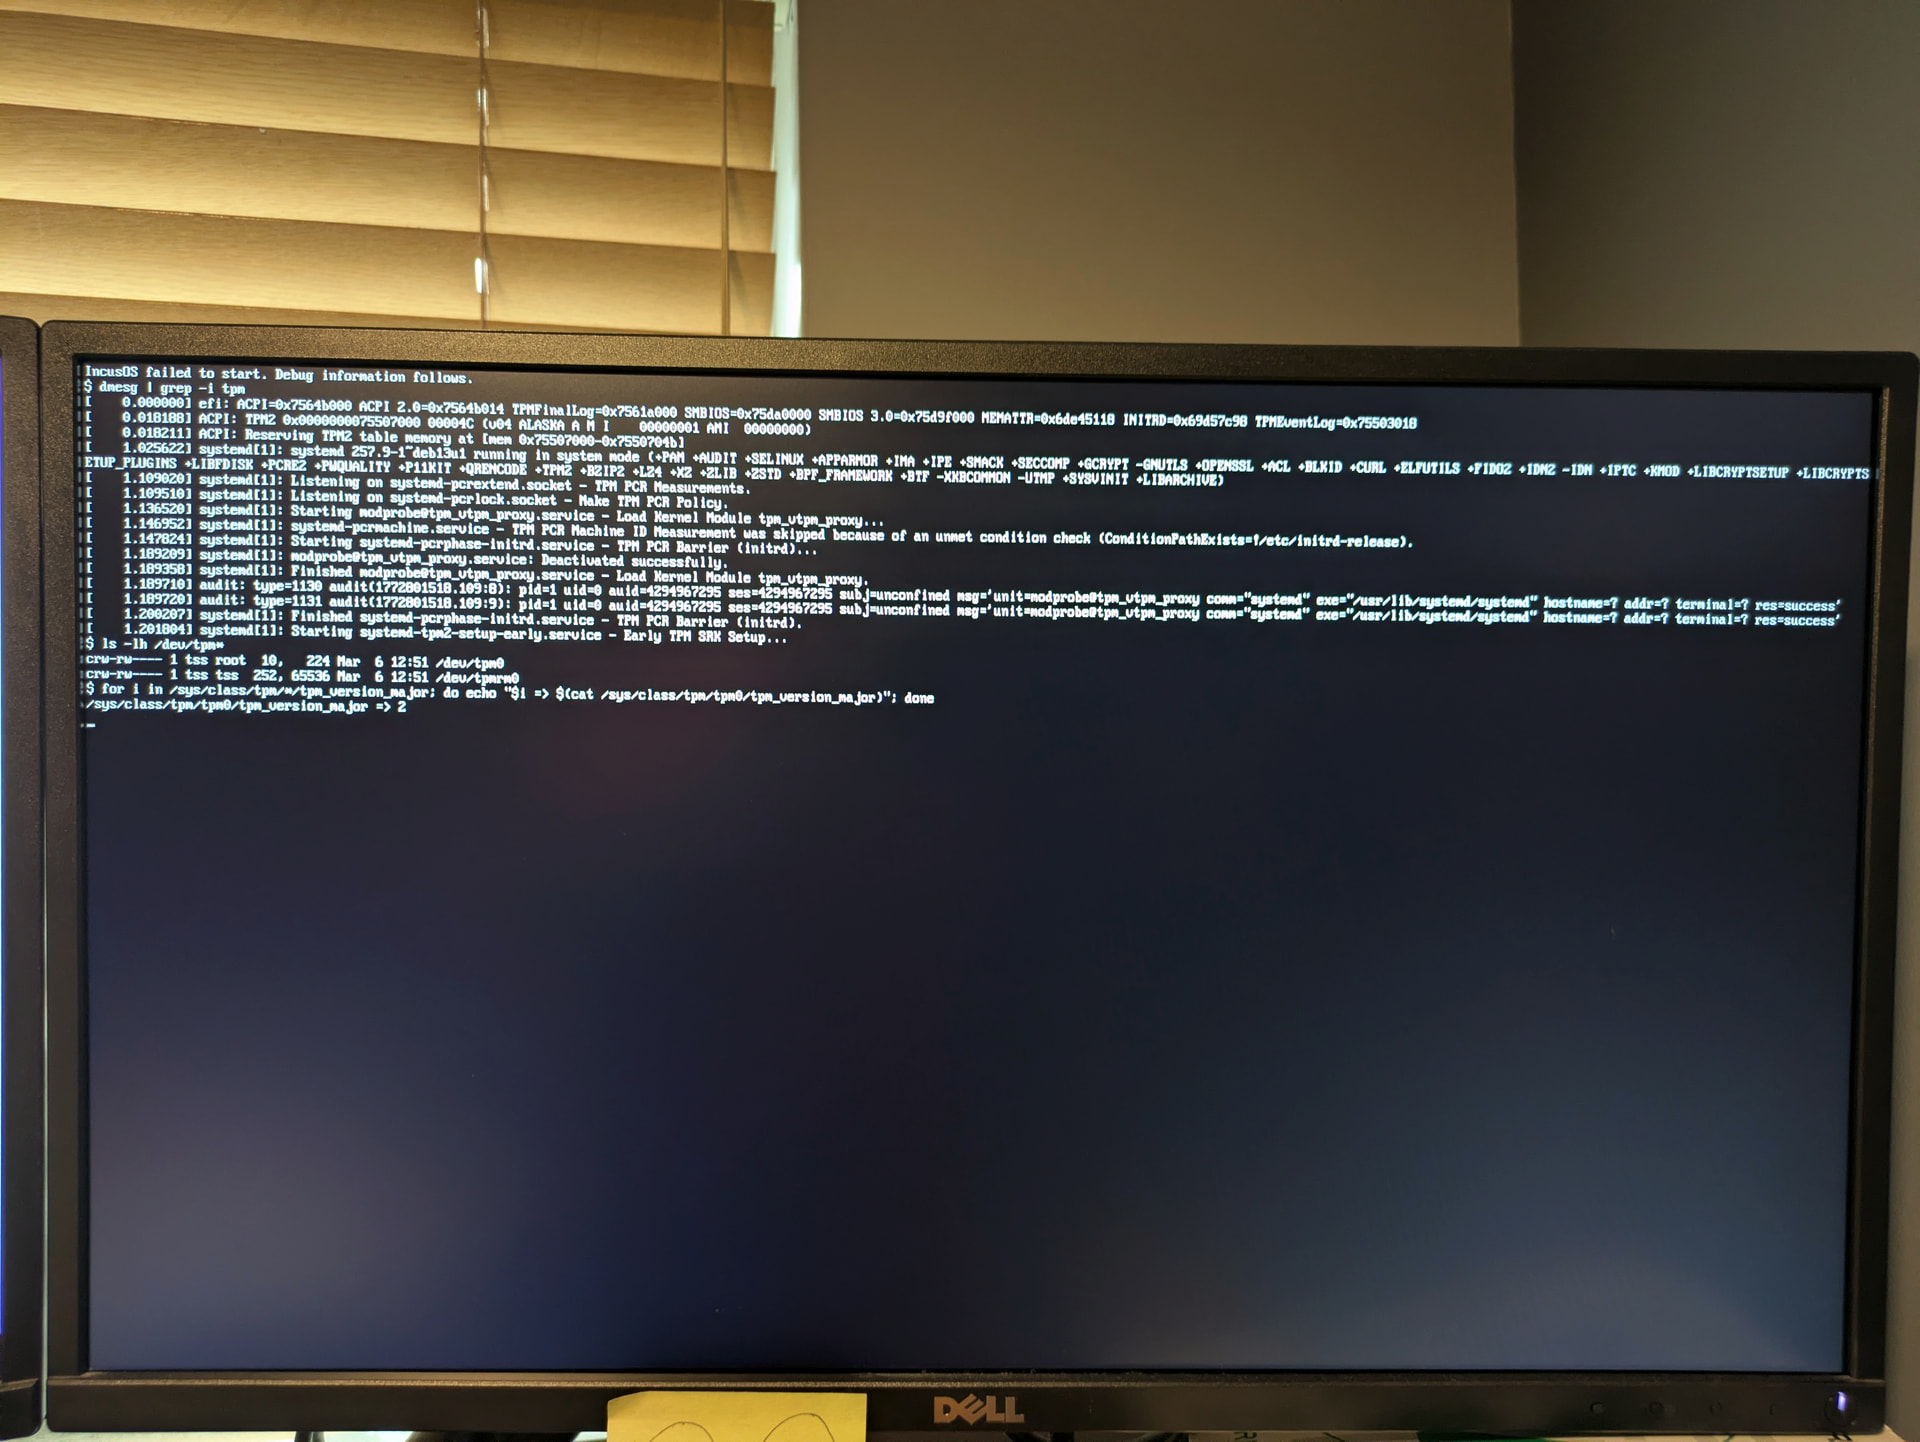
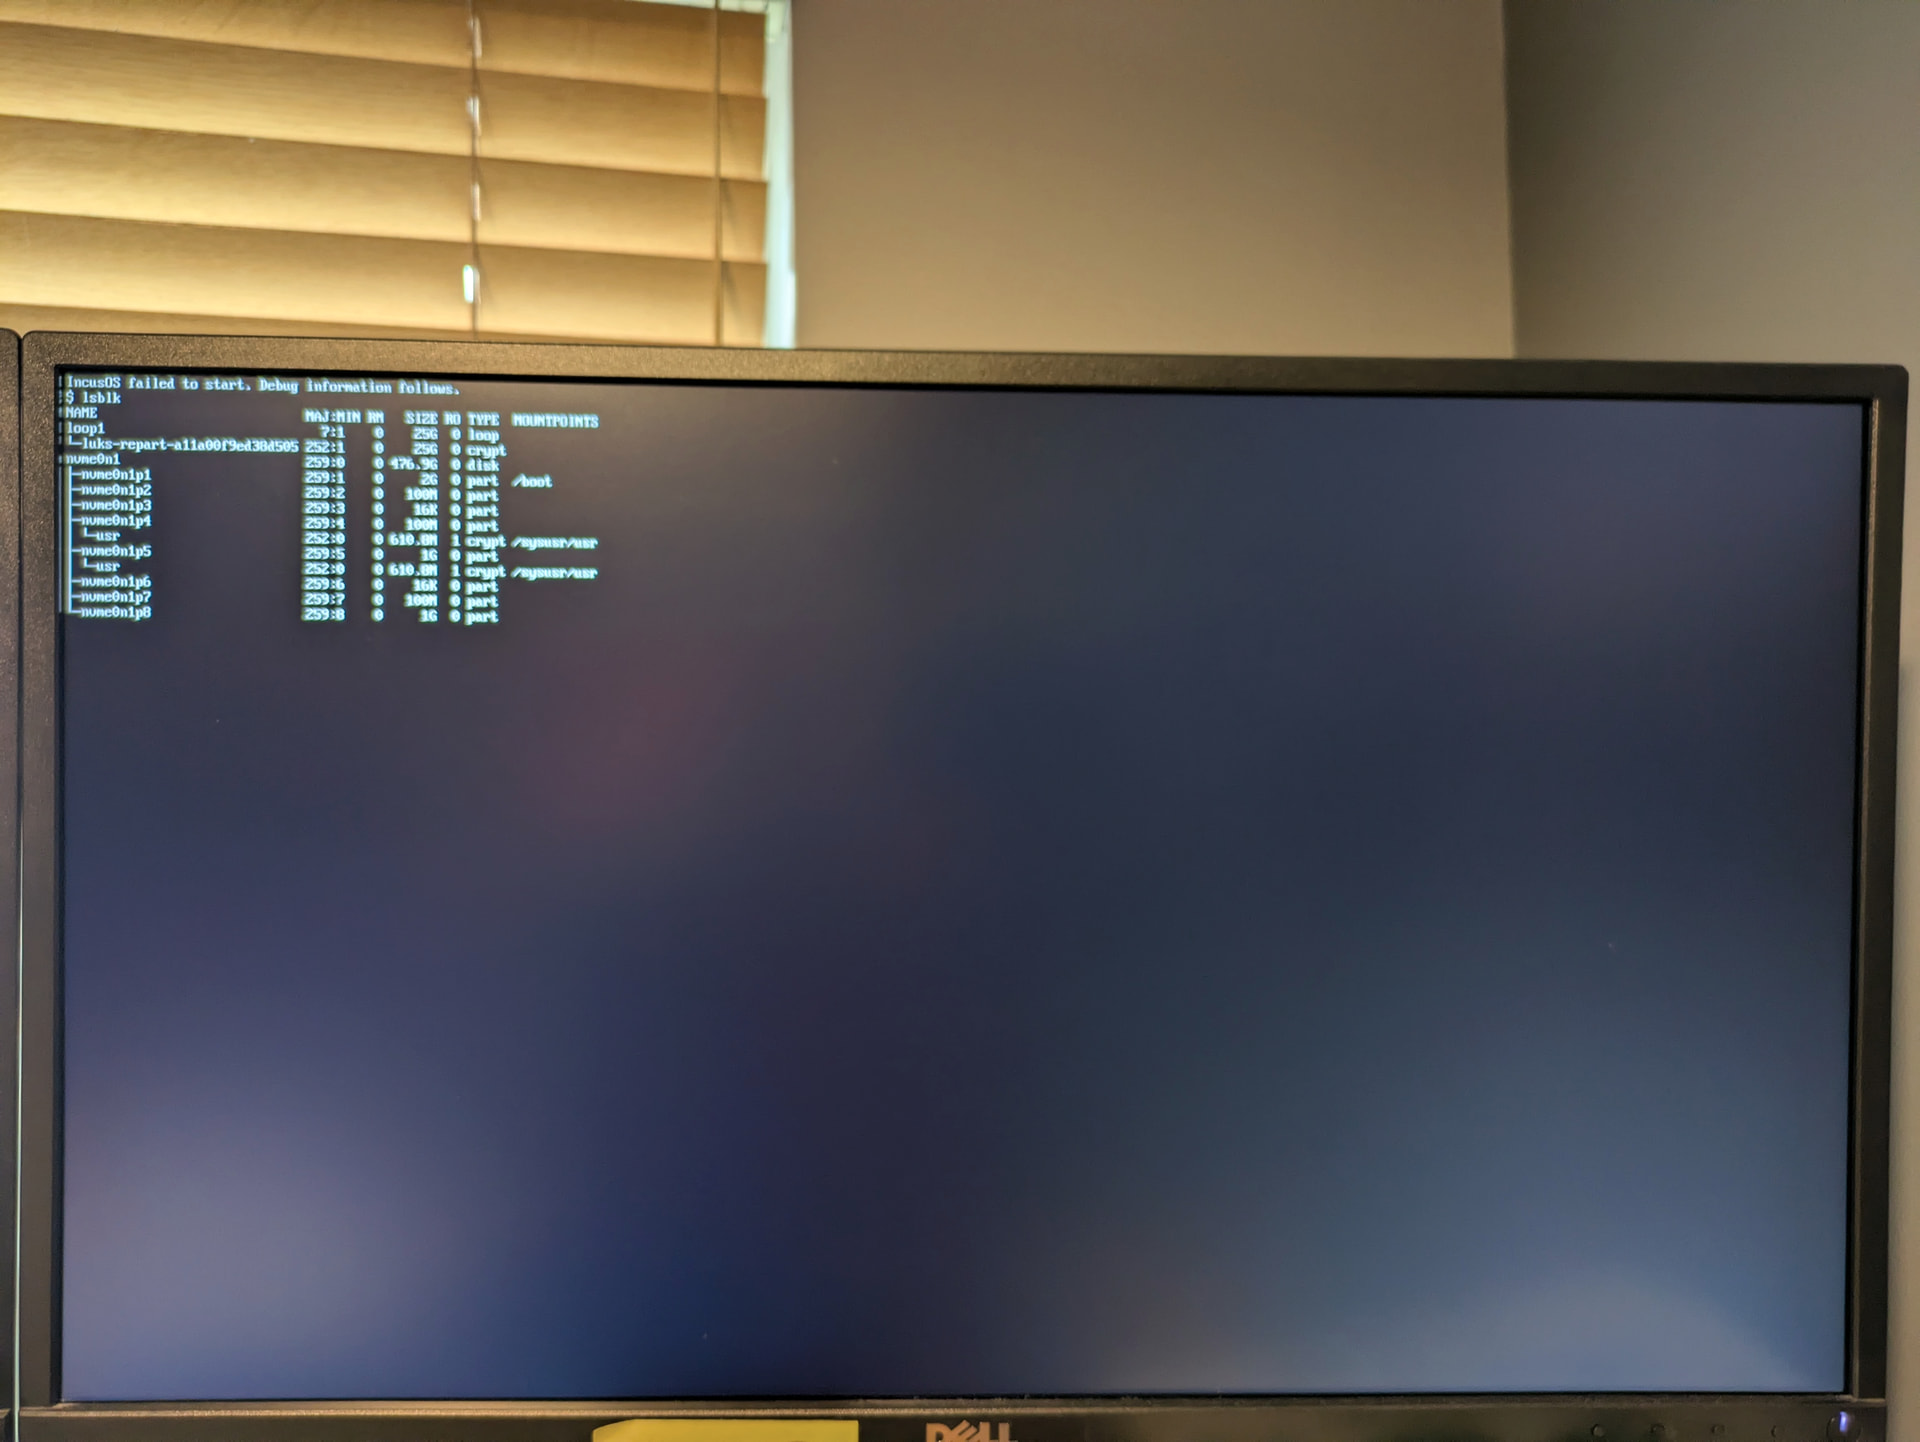
I selected USB/Installation/x86_64/Incus from the image builder, added my client certificate, and got a file IncusOS_202512080339.img. I used the Raspberry Pi Imager to flash the file to a USB flash device and booted that. In the BIOS, I selected the option to clear the secure boot keys. I get a message saying that new secure boot keys are being enrolled, then I see “IncusOS is starting…” Eventually, I do see the debug information, but I’m not sure what information from there would be useful. I can see that /dev/sdb had 11 partitions, including two 553 MB encrypted partitions.
If there is any information I might gather to help understand what is failing, I’m happy to do some testing here. Alternatively, any suggestions for “wrapping” IncusOS with a typical Linux distribution on the bare metal and launching IncusOS from there (with Incus!) would be welcome. I’m especially interested in the best way to configure storage for such a setup.
The rotating error messages showing up 10min after IncusOS is starting... should only show up from the early boot (initrd) logic. That code runs BEFORE any of the partitioning related code that could have expanded your set of partitions from the initial 5 to the full 11.
So if you’re seeing the rotating error messages show /dev/sdb with 11 partitions, that would suggest it’s not the first time this particular installation media is booted.
I don’t know that this is necessarily a problem in itself but it definitely suggests something else may be at play here.
Maybe try rewriting the installation media so it’s back to its initial set of partitions?
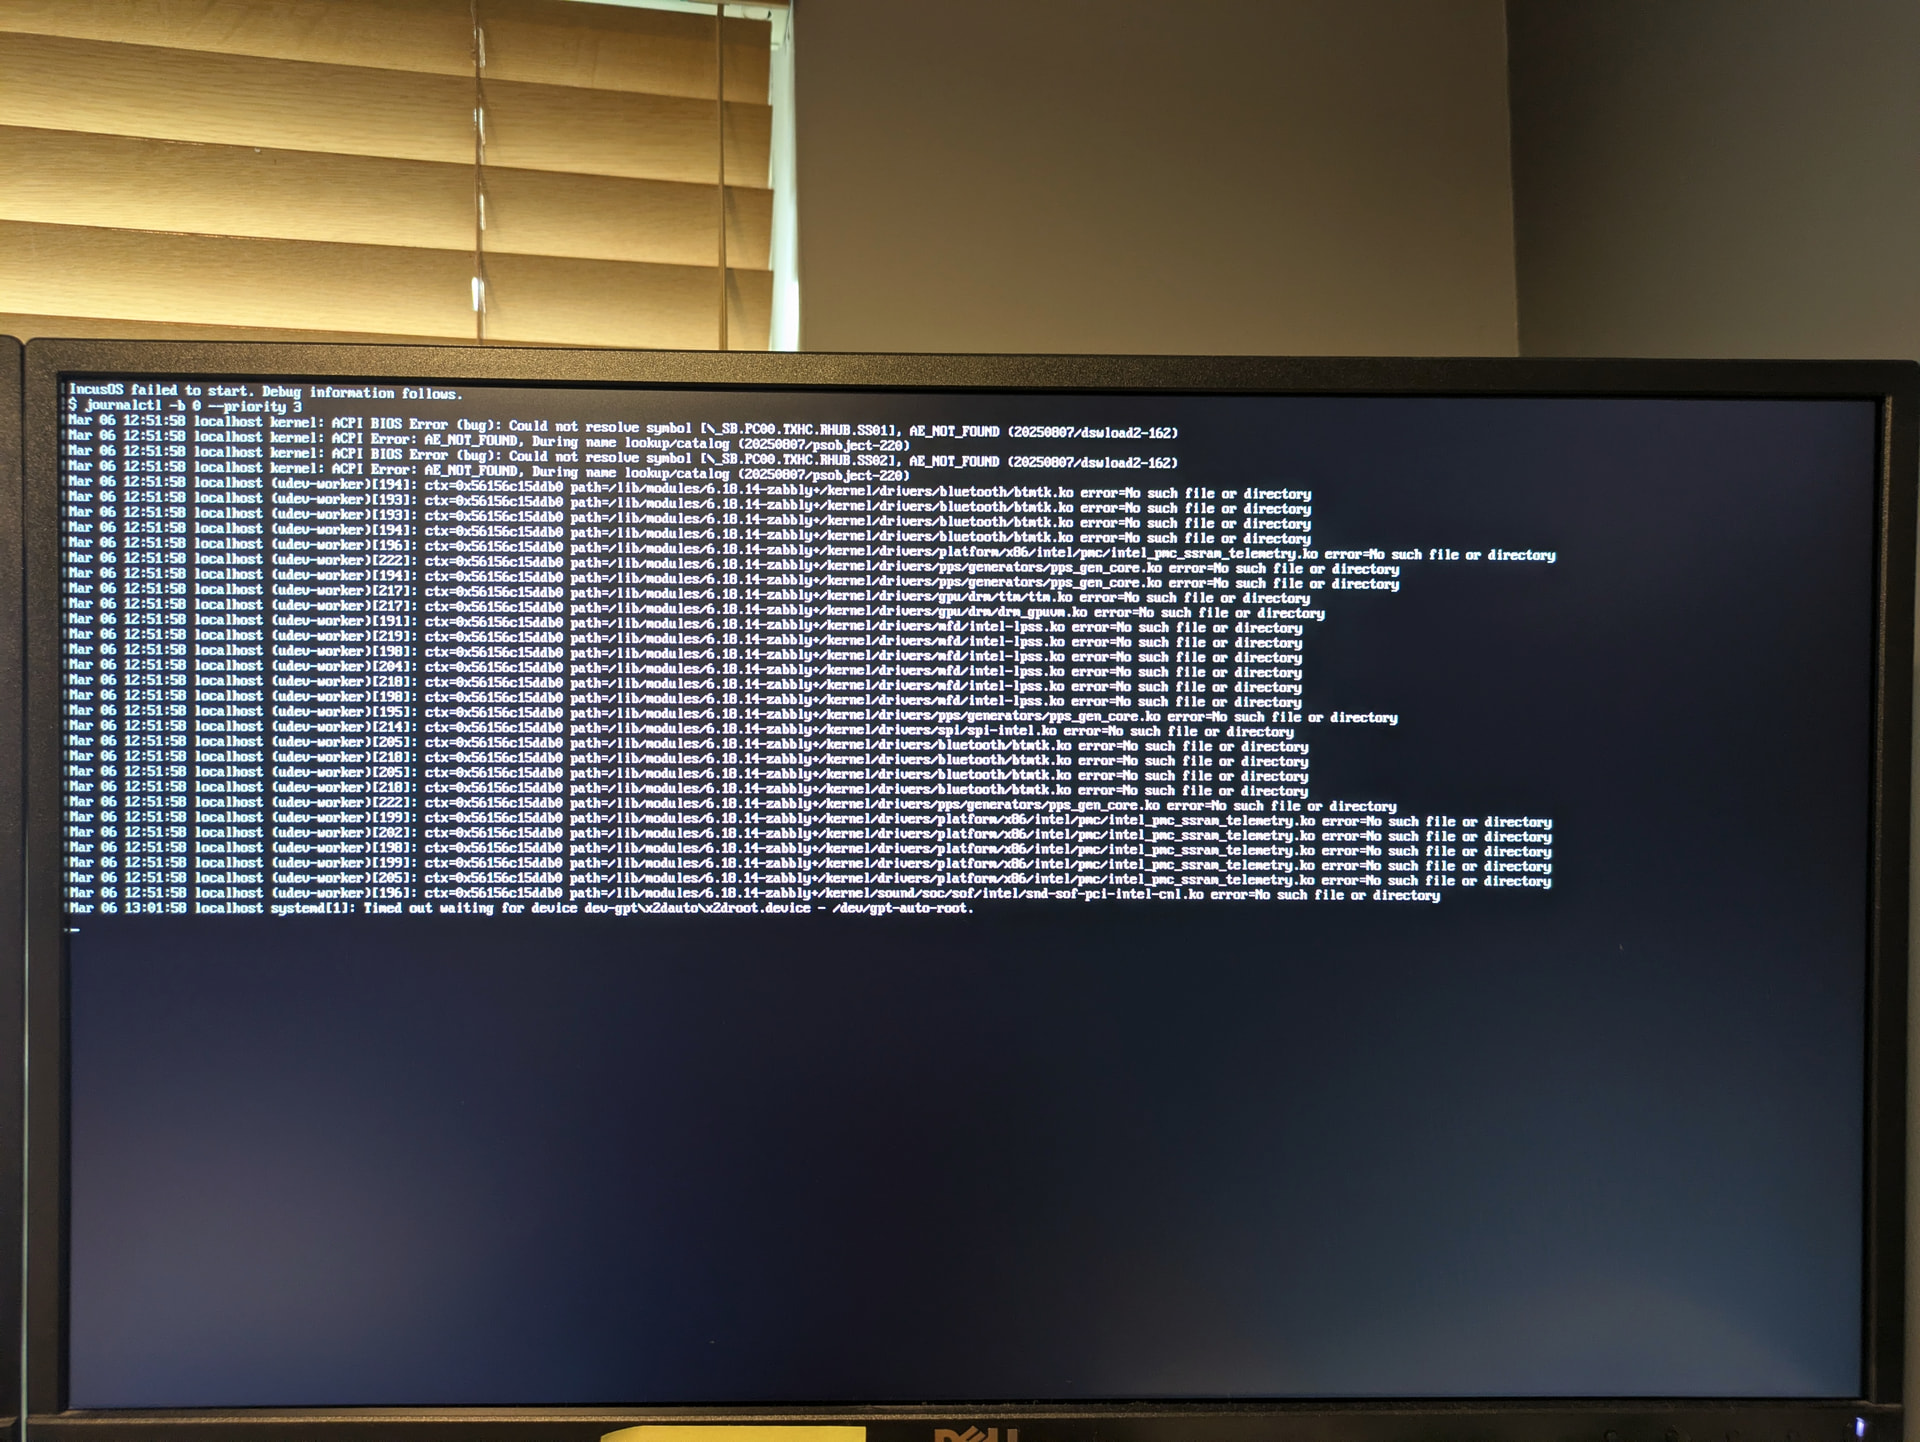
Today, I rewrote the USB storage media using Raspberry Pi Imager, which included a verification pass, so the storage should be initialized with the content of the img file. I started the computer, selected the option to clear the TPM data, and let it boot from the USB storage. After showing a message about enrolling the keys, it showed “IncusOS is starting…” for 10 minutes, and then it showed “IncusOS failed to start. Debug information follows.” It displayed the cycling debug information, including a partition layout having sdb1..sdb11 with two crypt /sysuser/usr partitions.
Could it be that initializing the storage on a 256 GB microSD card over USB is so slow that the process is actually proceeding normally but times out after 10 minutes? Is there any way to display some logs during the time that only “IncusOS is starting…” is shown?
As far as I know, the only way to go from 5 partitions to 11 partitions is if we go through systemd-repart and that would be after the initrd. Do we have the hook outside of the initrd too?
@johnp789 any chance you could run gdisk -l /dev/sdX (with appropriate /dev/sdX) after running the Raspberry Pi imager again?
I just want to make sure there’s nothing odd going on there. GPT partition tables exist both at the beginning and end of the drive. I don’t know if the image is aware of that and correctly clears both.
I wrote the image to the USB storage device, then checked the partitions:
$ sudo gdisk -l /dev/sda
GPT fdisk (gdisk) version 1.0.10

Partition table scan:
  MBR: protective
  BSD: not present
  APM: not present
  GPT: present

Found valid GPT with protective MBR; using GPT.
Disk /dev/sda: 484900864 sectors, 231.2 GiB
Model: uSD Card Reader
Sector size (logical/physical): 512/512 bytes
Disk identifier (GUID): 2409EA75-A598-435C-9406-FC5191F4DA73
Partition table holds up to 128 entries
Main partition table begins at sector 2 and ends at sector 33
First usable sector is 2048, last usable sector is 6703142
Partitions will be aligned on 32-sector boundaries
Total free space is 7 sectors (3.5 KiB)

Number  Start (sector)    End (sector)  Size       Code  Name
   1            2048         4196351   2.0 GiB     EF00  esp
   2         4196352         4401151   100.0 MiB   8300  seed-data
   3         4401152         4401183   16.0 KiB    8385  IncusOS_20251208033...
   4         4401184         4605983   100.0 MiB   8319  IncusOS_20251208033...
   5         4605984         6703135   1024.0 MiB  8314  IncusOS_202512080339
Then, I booted the t630 computer again after selecting BIOS options related to clearing the secure boot keys. Again, it showed only “IncusOS is starting…” for 10 minutes. It then showed the “IncusOS failed to start.” message and the rolling debug information. I powered off the computer and checked the partition layout:
$ sudo gdisk -l /dev/sda
GPT fdisk (gdisk) version 1.0.10

Partition table scan:
  MBR: protective
  BSD: not present
  APM: not present
  GPT: present

Found valid GPT with protective MBR; using GPT.
Disk /dev/sda: 484900864 sectors, 231.2 GiB
Model: uSD Card Reader
Sector size (logical/physical): 512/512 bytes
Disk identifier (GUID): 2409EA75-A598-435C-9406-FC5191F4DA73
Partition table holds up to 128 entries
Main partition table begins at sector 2 and ends at sector 33
First usable sector is 2048, last usable sector is 484900830
Partitions will be aligned on 32-sector boundaries
Total free space is 7 sectors (3.5 KiB)

Number  Start (sector)    End (sector)  Size       Code  Name
   1            2048         4196351   2.0 GiB     EF00  esp
   2         4196352         4401151   100.0 MiB   8300  seed-data
   3         4401152         4401183   16.0 KiB    8385  IncusOS_20251208033...
   4         4401184         4605983   100.0 MiB   8319  IncusOS_20251208033...
   5         4605984         6703135   1024.0 MiB  8314  IncusOS_202512080339
   6         6703136         6703167   16.0 KiB    8385  _empty
   7         6703168         6907967   100.0 MiB   8319  _empty
   8         6907968         9005119   1024.0 MiB  8314  _empty
   9         9005120        17393727   4.0 GiB     8200  swap
  10        17393728        69822527   25.0 GiB    8304  root-x86-64
  11        69822528       484900823   197.9 GiB   8300  local-data
Out of curiosity, I wrote the same image to an 8 GB USB flash drive and booted that. It displayed a few lines immediately after “IncusOS is starting…” which I never saw with the 256 GB microSD-in-USB-reader I have been trying so far. Unfortunately, IncusOS then displayed an error saying saying that secure boot was disabled.
Maybe the secure boot implementation on this HP t630 is buggy—usually, when I reboot into the firmware settings, secure boot is marked disabled, even if I had enabled it and selected save-and-restart immediately before.
It seems like my best option with the t630 is to install Debian on the bare metal and run IncusOS as a VM.
Using a media smaller than 35GB will prevent systemd from messing with the partitions on it as it’s too small to act as a target drive. That then let you go further into the boot sequence.
My current guess based on what you’ve described is that the Secure Boot implementation on that platform has some bugs, it being disabled then prevents systemd-repart from getting a proper PCR7 measurement and so fails the formatting of the encrypted root partition. That would lead to 11 partitions but with partition 10 being effectively blank as the formatting would have failed at that stage.
@gibmat does that make sense?
I guess the question is can we do the pre-requirements check (UEFI & TPM 2.0) from the initrd so we can avoid this behavior?
Actually, the “main” hook for systemd-repart is in the initrd. systemd relies on this as part of setting up the root filesystem before pivoting out of the initrd and into the main system during boot. systemd-repart can also run once the system is booted, but we don’t rely on that.
When IncusOS completes a regular install, there will be 8 partitions. Then, on first boot systemd-repart creates the final three. If IncusOS is running live from a USB stick/drive, systemd-repart will create all the partitions on the first boot.
Yeah, if SecureBoot is disabled that will cause systemd-repart issues. We actually haven’t really tested this particular code path too much, since the Incus VM environment doesn’t easily provide a UEFI with no SecureBoot option.
I’ve added some early boot checks for SecureBoot state and TPM presence to the initrd boot message. If either is missing an error will be printed and after the 10 minute timeout the loop of debug information will be displayed. Hopefully that will make it a lot clearer when this sort of situation occurs in the future.
I’m in a similar situation to the OP; I seemingly get through the install and repartition okay from USB boot media, but get stuck on reboot from the fresh install. FWIW hardware is a Trigkey Green G4 with Intel N100 and allegedly functional TPM2.0 and secure boot.
Similar problem to OP; hangs on reboot after initial install from USB media (vanilla image created today) and seemingly after repartition. Have followed advice to clear TPM completely, delete all partitions on target disk and attempt reinstall with same conclusion.
There’s definitely something odd going on with repart setting up the encrypted storage here by the looks of it. The system sees your NVMe storage but didn’t succeed in running the repartitioning as you’re missing 3 partitions.
The open loop drive with luks-repart suggests that repart may be stuck for some reason?
@gibmat any idea? I’m not seeing any error from repart in the logs above, but the loop+luks thing suggests that it’s running or has ran and failed.
For fun I’ve been through the wipe and install process again, this time with a USB image using the swtpm option in place of the h/w tpm (still secure boot, though), and disabling the TPM in the BIOS. Essentially same process (with the swtpm warning this time), installed, rebooted then got stuck in the same place with same symptoms. I’m just trying again with a slightly older image that I successfully used to install a different machine to see if it’s a quirk of this particular hardware.
Older, known good install image (20260225) is also hanging at the same stage. So it’s almost certainly a quirk of this particular hardware. Is there any information I can usefully gather for you before I reinstall?
Success! I successfully installed by specifying a different drive to install to. This was a Crucial SSD attached via SATA rather than the original no-name M.2 drive that came with the machine attached via nvme.
This leads me to suspect something about the no-name nvme drive was disrupting the installer. I’m guessing more people would have noticed if nvme support was suddenly broken, so the more likely culprit is the drive itself.
When booted into a Debian live environment, I noticed the nvme drive was not able to self-test with smartctl because it was unable to write or retrieve its self-test log. Could semi-broken smartd support on a drive cause the installer to hang at repartitioning?
Some log snippets and config info if it’s of any help; please feel free to request anything else you might be interested in to isolate the issue.
From incus admin os debug log:
[2026/03/07 17:02:02 GMT] kernel: nvme 0000:02:00.0: platform quirk: setting simple suspend
[2026/03/07 17:02:02 GMT] kernel: nvme nvme0: pci function 0000:02:00.0
[2026/03/07 17:02:02 GMT] kernel: nvme nvme0: missing or invalid SUBNQN field.
[2026/03/07 17:02:02 GMT] kernel: hwmon hwmon1: temp1_input not attached to any thermal zone
[2026/03/07 17:02:02 GMT] kernel: hwmon hwmon1: temp2_input not attached to any thermal zone
[2026/03/07 17:02:02 GMT] kernel: nvme nvme0: allocated 64 MiB host memory buffer (16 segments).
[2026/03/07 17:02:02 GMT] kernel: nvme nvme0: 4/0/0 default/read/poll queues
[2026/03/07 17:02:02 GMT] kernel:  nvme0n1:
Separately, is there any way to predict what id the IncusOS installer uses? From the Debian live environment, I’d noted down ata-Crucial_CT… as the id to specify in the image customiser, but the installed failed, reporting different ids for the drives. In my case I actually needed scsi-3500a075… Rerunning the image customiser with the id reported by the failed installer then worked, but as noted above, the device really does report itself as ata-Crucial…. Any thoughts? Happy to break this out as a separate thread if you prefer.