There is a discussion about configure Incus UI with SSL authentication. This one is talking about using OpenID Connection (OIDC) for authentication.
I tried a couple of OIDC provider, the only working for me is Auth0. Confirmed not working: Google OAuth, Nextcloud OIDC. Auth0 could connect with Google account so this will be a workaround to use Google as SSO.
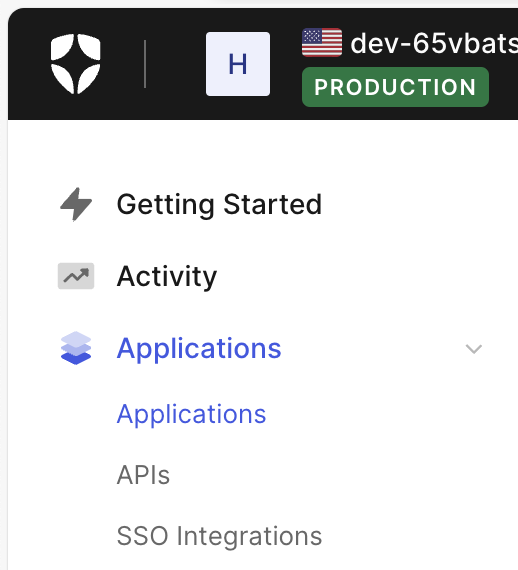
First, you need to register Auth0 and create a tenant. Free tier is totally OK. Then, we are going to create an application from the left navigation.
I choose “Single Page Application”. Incus UI works as OAuth 2.0 public application, which is matching the “Single Page Application” and grant auth with implicit flow.
Edit: I took a closer look at the code, LXD/Incus is using Authorization Code Flow with PKCE instead of implicit flow. Maybe “Native” application type is a better choice.

In the application page, fill the application URL, callback URL and allow origins. Internal IP or server name also works.
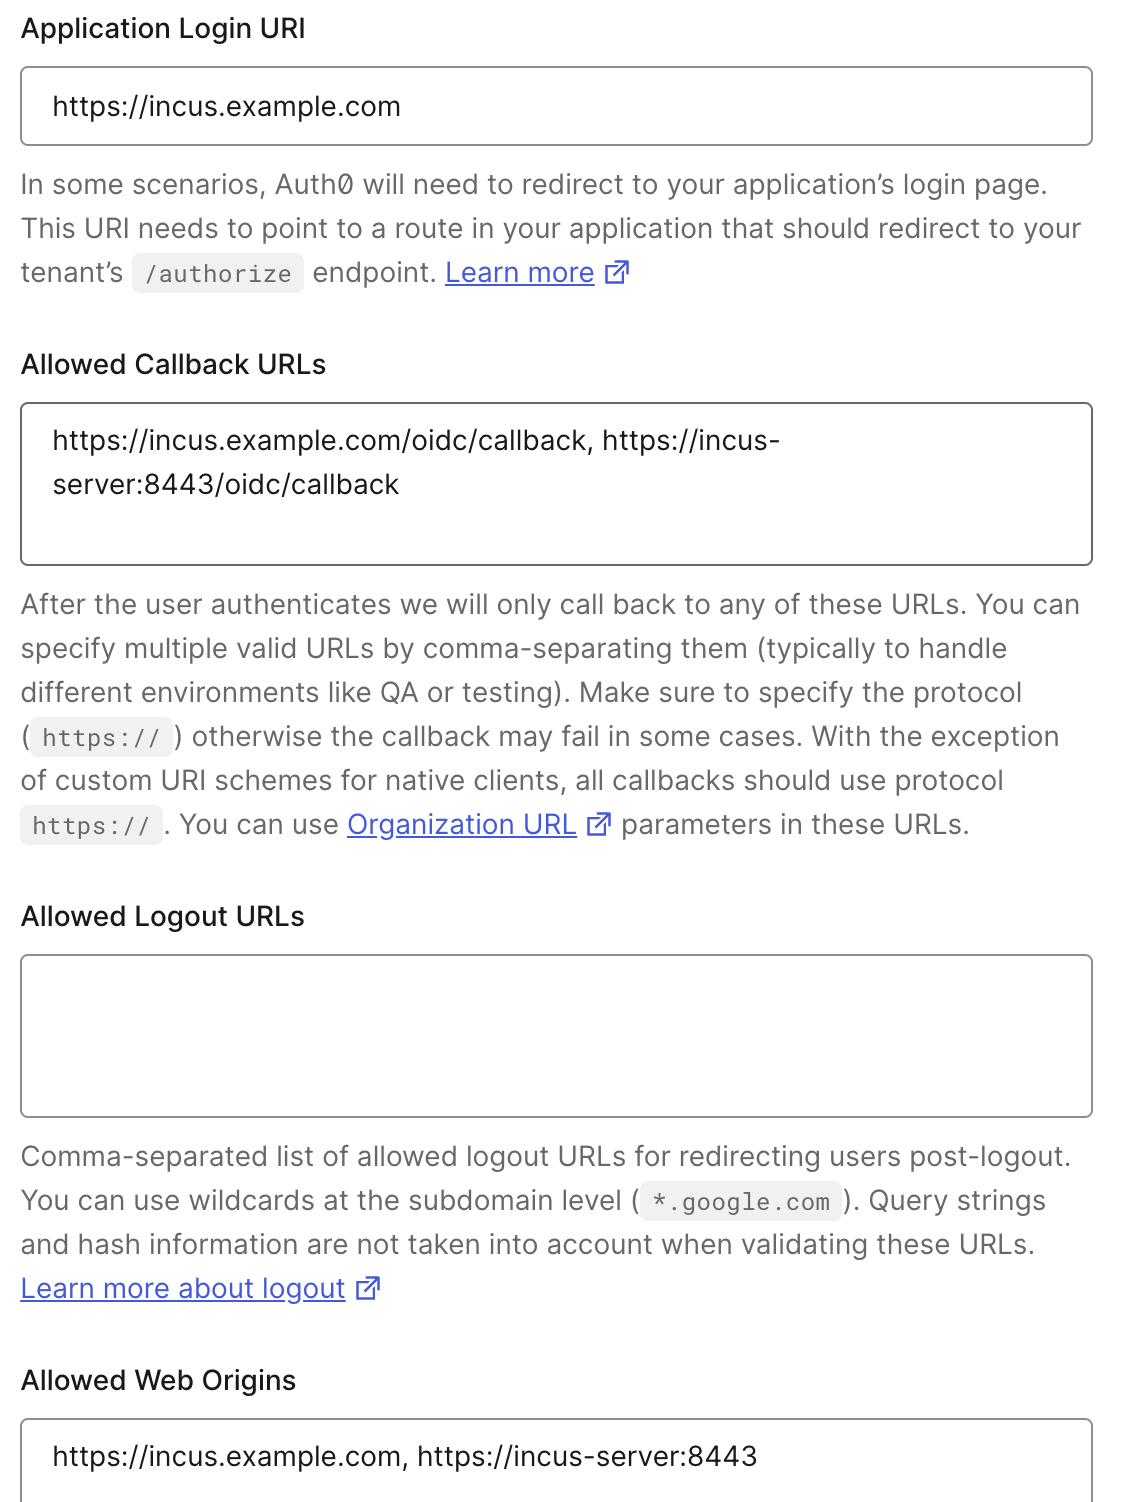
Under the “Advanced Settings” > “Grant Types”, make sure “Implicit”, “Authorization Code” and “Refresh Token” are checked. They should be selected by default.
Edit: As mentioned above, LXD/Incus is not using implicit flow, “Implicit” grant type is not necessary.

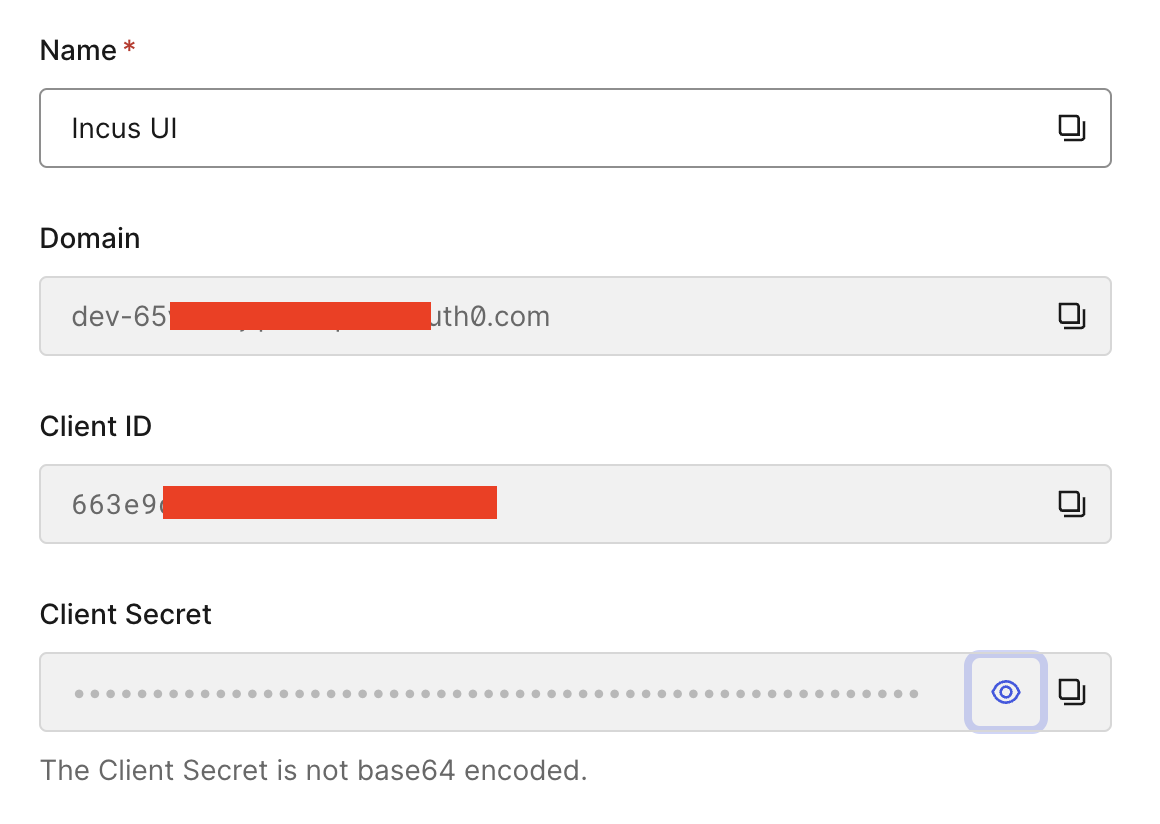
Note down the “Domain” and “Client ID” in basic information section. They will be used in later step. We don’t need the “Client Secret” value.
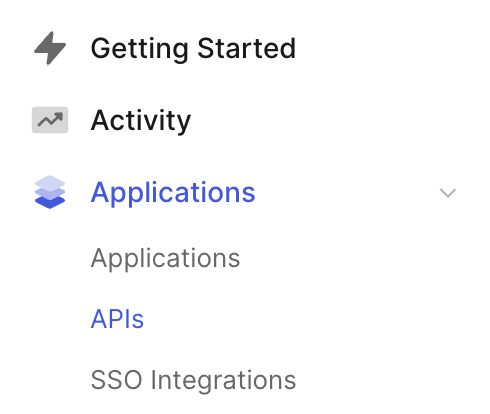
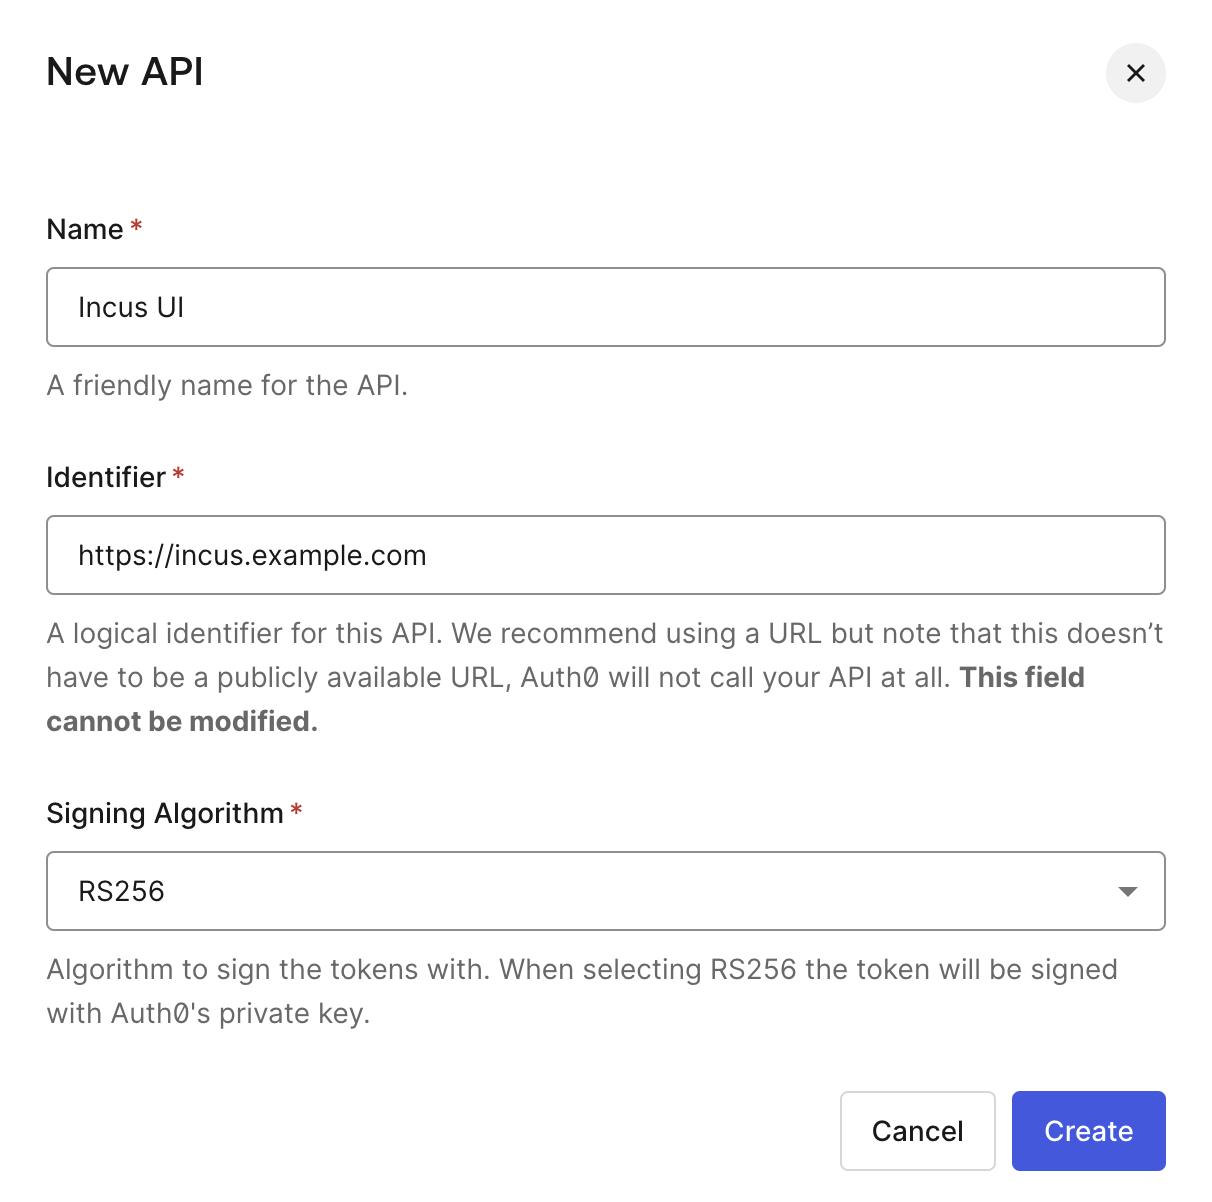
Next, switch to API page and create an API.
Identifier could be any string. I follow its suggestion to use the domain name. We use fill this identifier into Incus config as well.
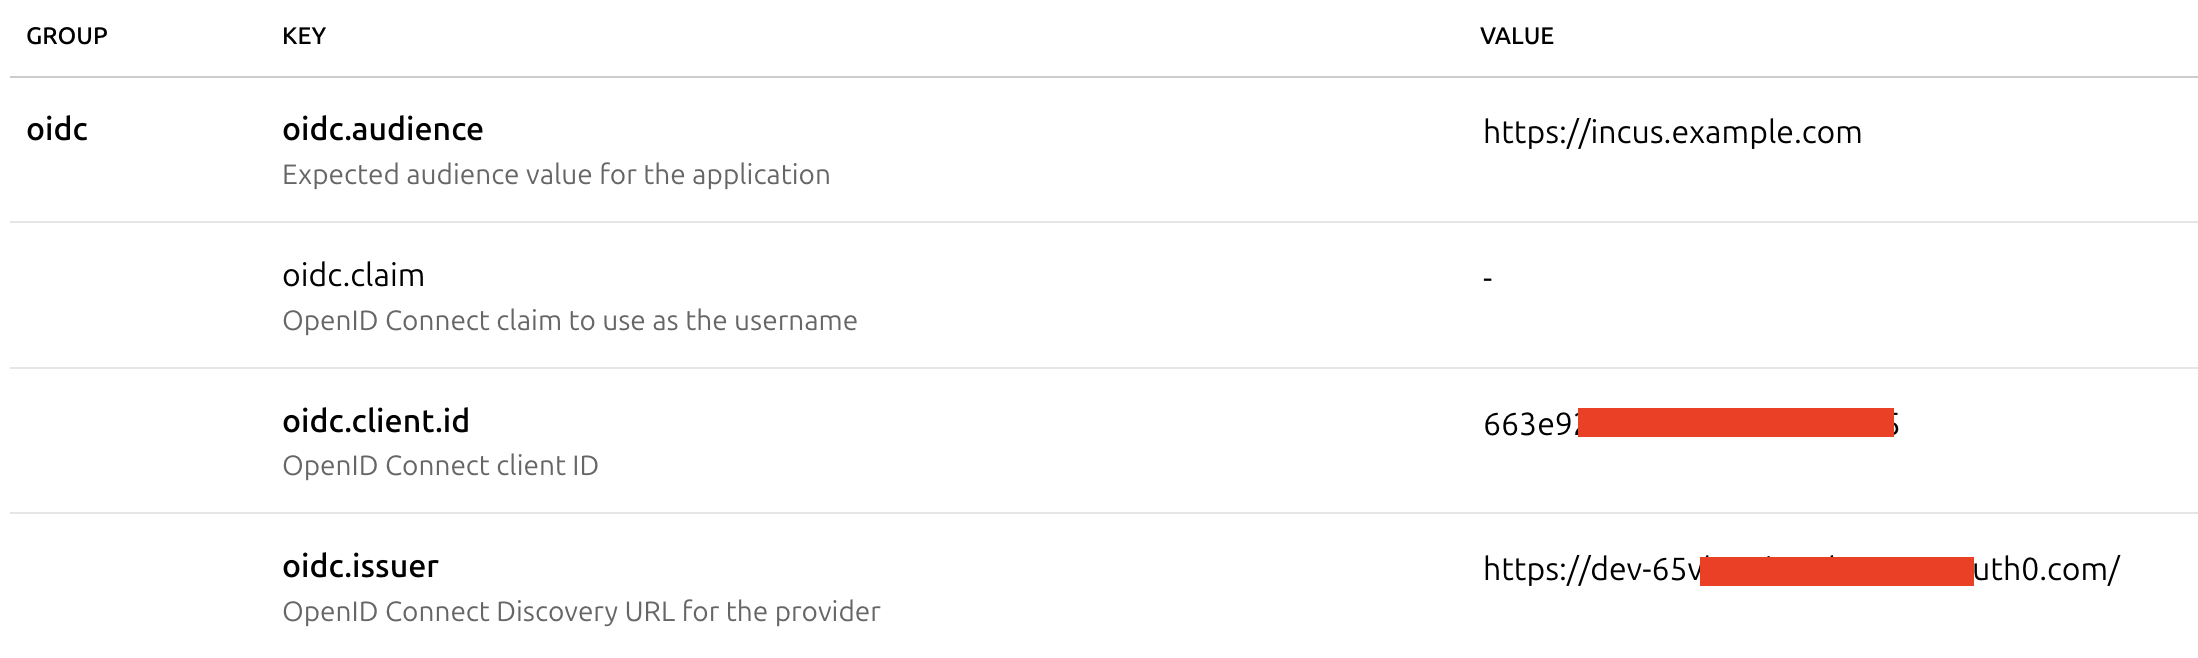
After this, the Auth0 configuration is done. We switch to Incus configuration. Fill the oidc.audience as the API identifier. Note it needs to exactly match. The oidc.client.id and oidc.issuer is got from the basic information section. Notice the tailing / in the issuer.
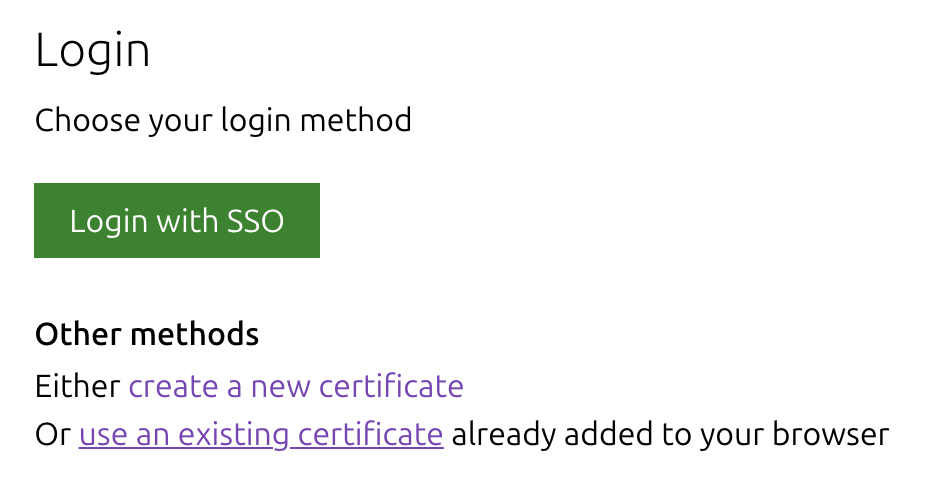
Now, go to your domain https://incus.example.com/ or https://incus-server:8443. There is a “Login with SSO” button. It should jump to Auth0 for SSO.
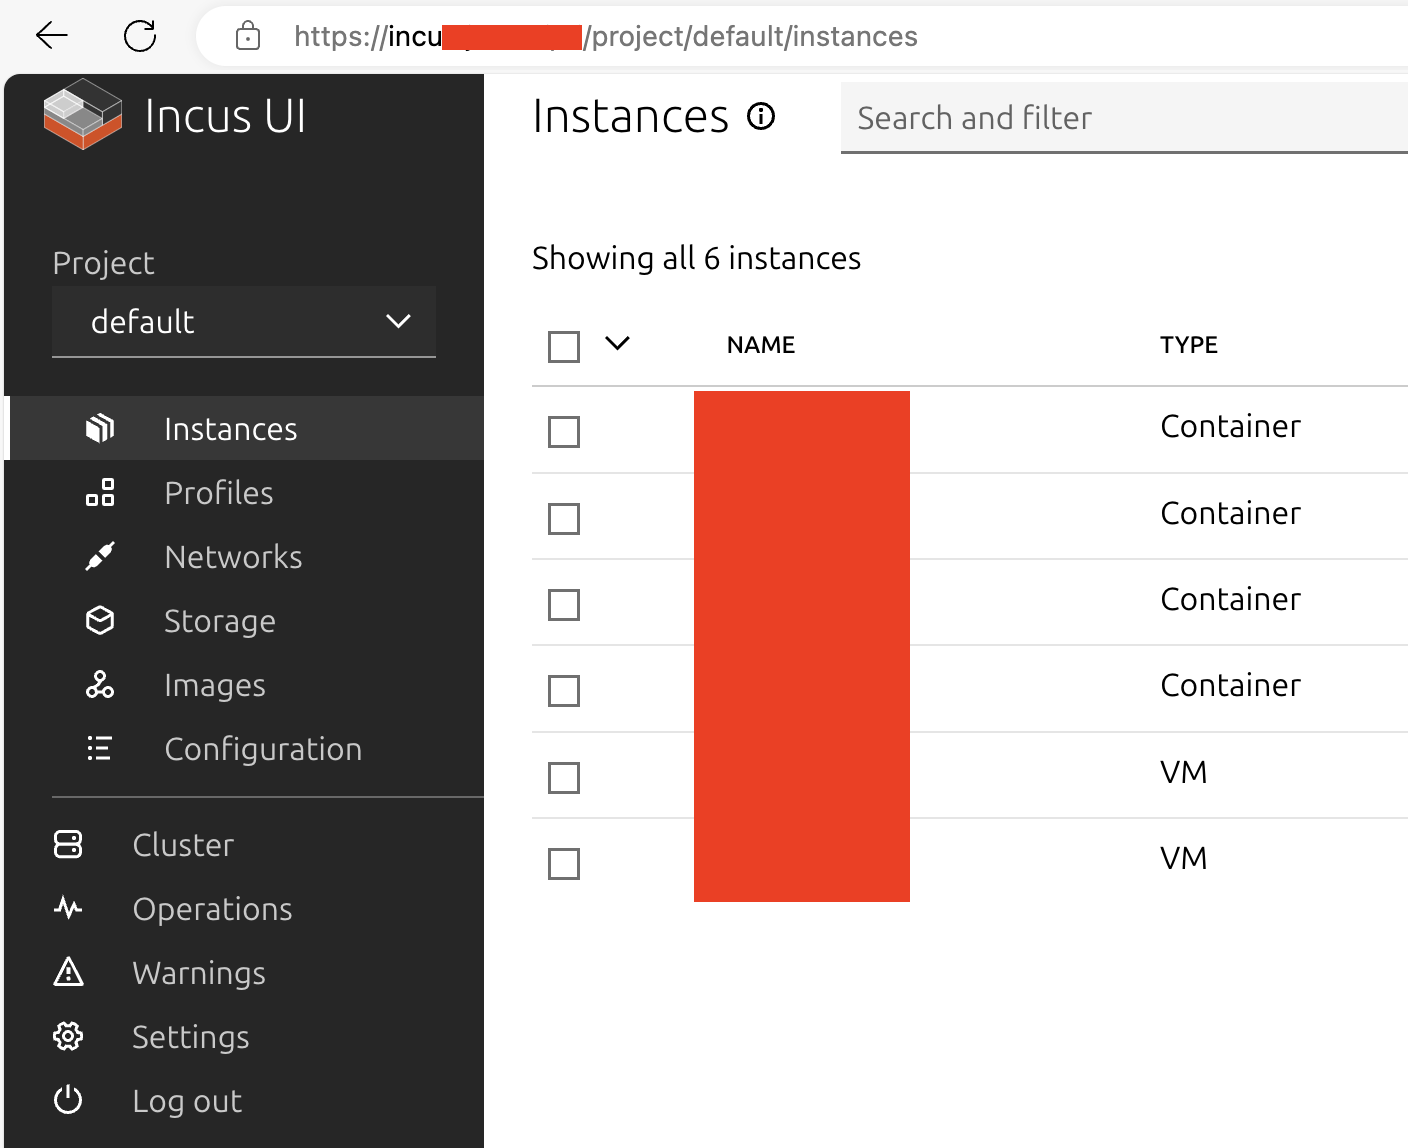
After login, you should be able to manipulate the Incus UI in your public domain.
As mentioned in this doc, any user that authenticates through the configured OIDC Identity Provider gets full access to Incus. It means, someone visits your https://incus.example.com URL, authenticated by SSO, then got full access on your Incus server. We have few solutions to address that.
The first solution is to put your Incus UI after Cloudflare Tunnel and Cloudflare Access. There are lots of introduction about it in the Internet, I am not going to expand it. One notice is, remember to enable “No TLS Verify” to bypass the Incus UI self-signed certificate.
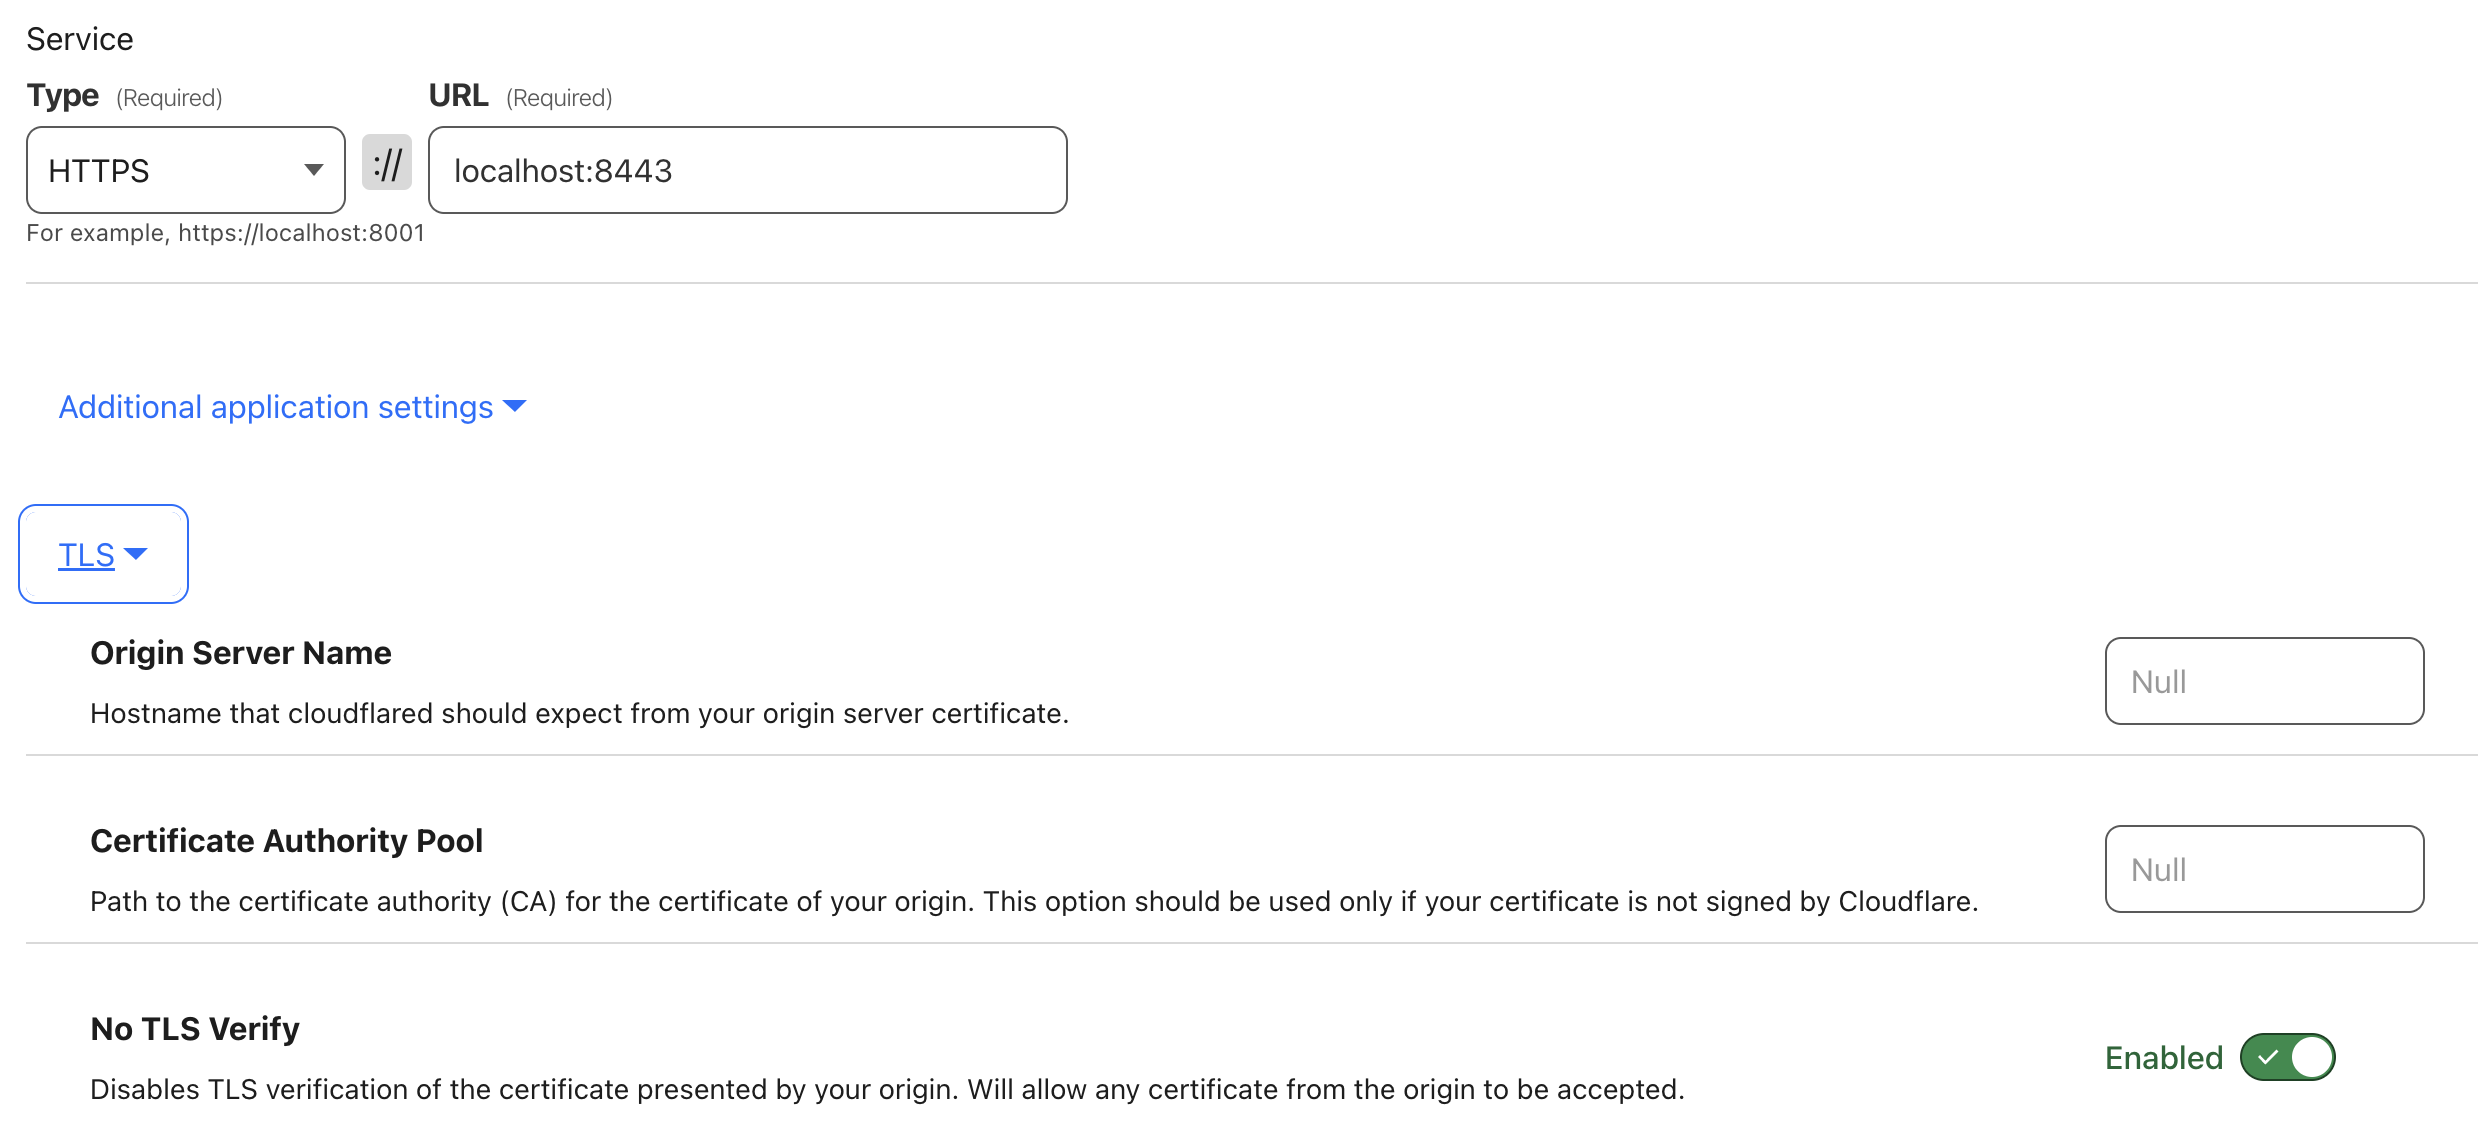
Besides, enable Cloudflare Access for another layer of protection before hitting the Incus UI.

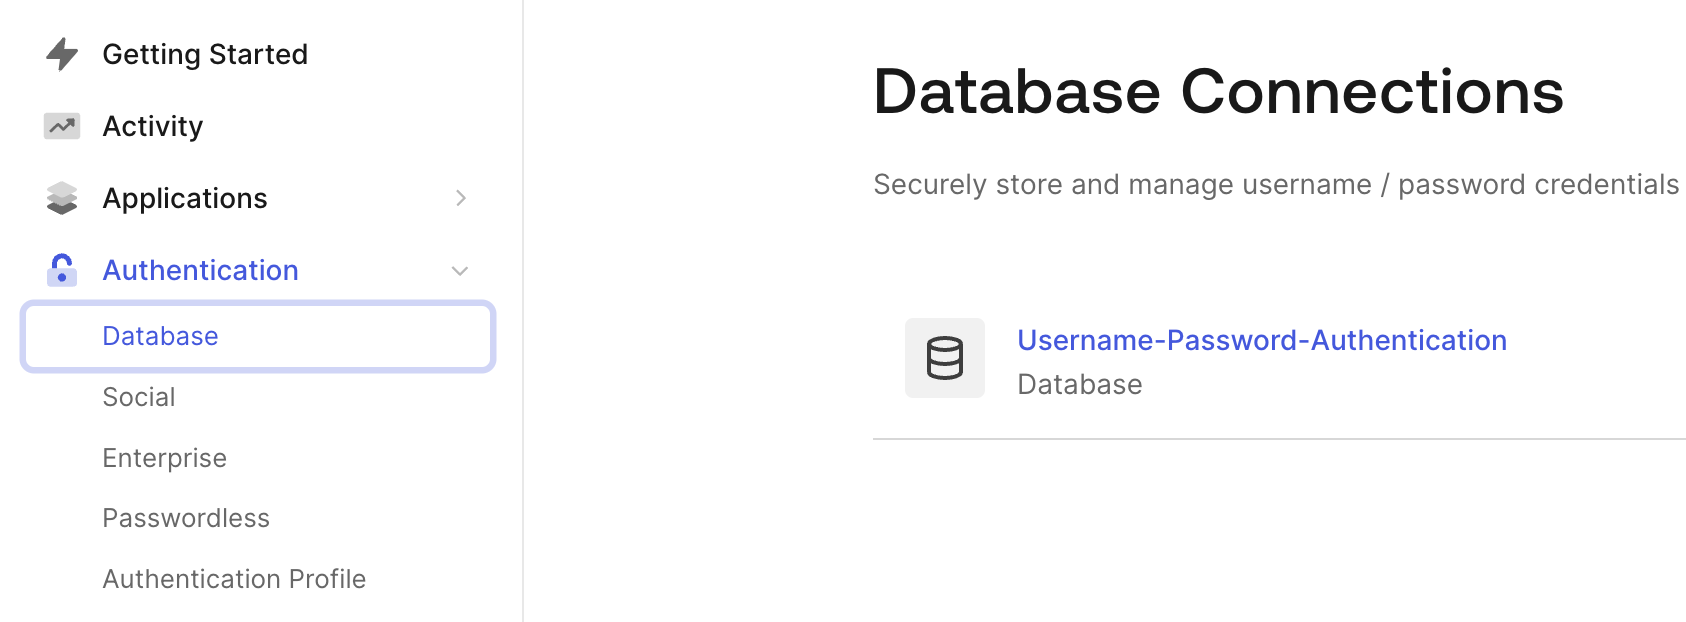
The second solution is to disable arbitrary user sign up on your Auth0 service. Go to “Database” > “Username-Password-Authentication” database.
Scroll down and check “Disable Sign Ups”

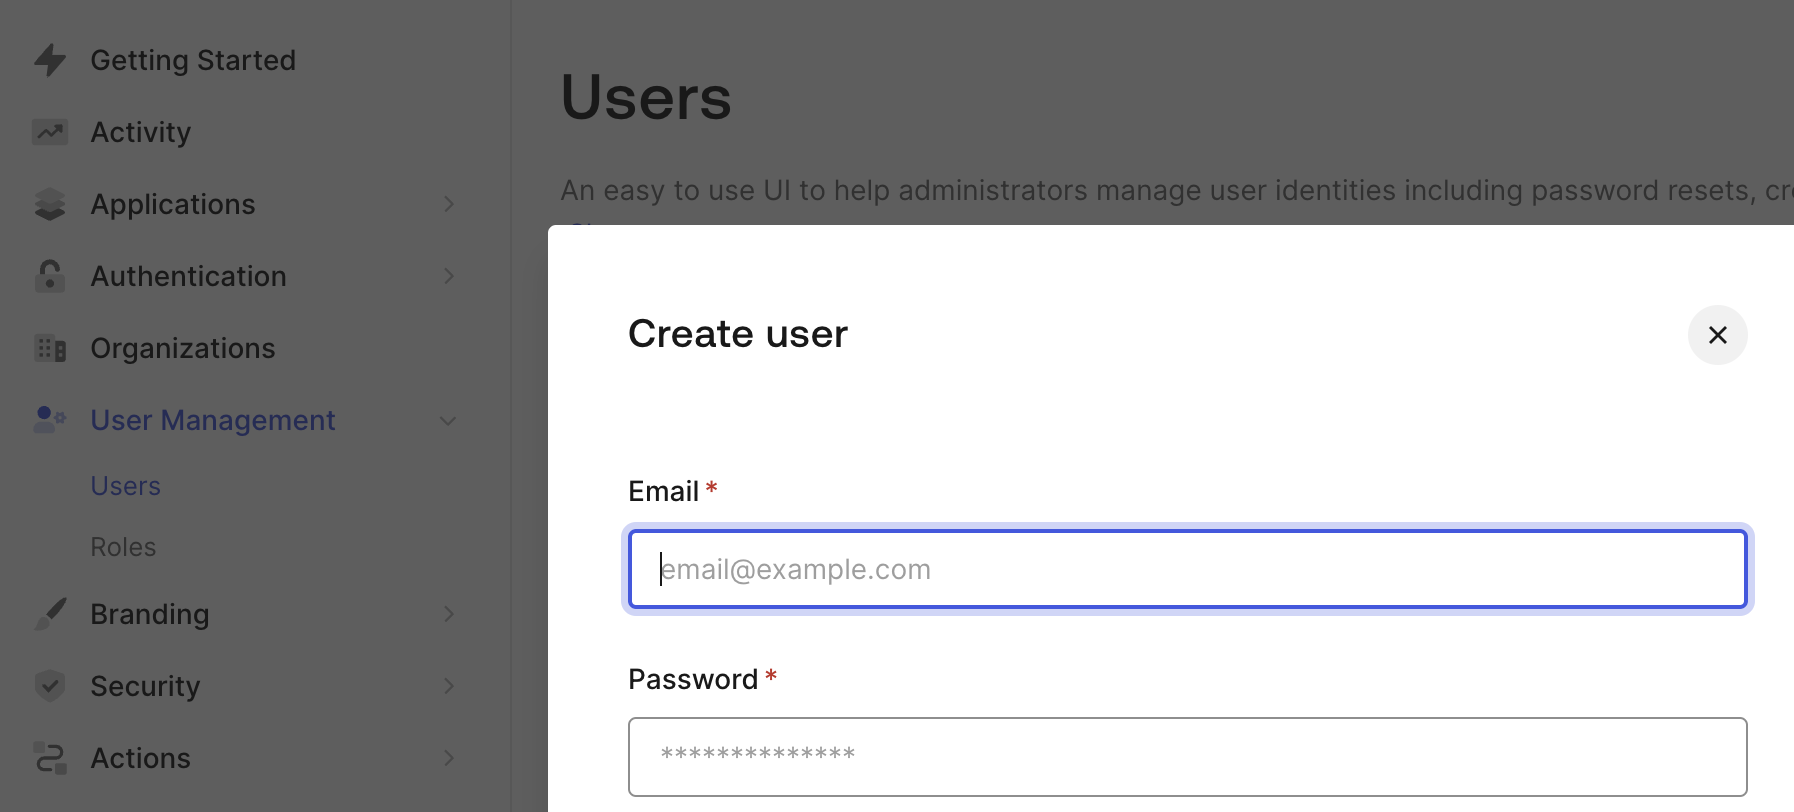
In this case, you will need to use the “User Management” > “Users” to create user. Registered users have full access Incus UI. That might be fine for homelab.
The third solution is to leverage OpenFGA. I did not try it, no details about it.